 I’ve just created a home audio booth, and I know lots of indie authors out there want to do the same but have no idea where to start. So I thought I’d share the process and show you how to build your own DIY audio booth.
Why Build a Home Audio Booth?
Most writers by now know that they need to jump on the audio book bandwagon ASAP. The audiobook industry is booming. That’s swell, but what about those of us who can’t afford to spend $6000 paying a professional narrator to narrate, edit and master an audiobook for you? Well, we can do it ourselves. I’m seeing more and more indie authors taking the proverbial bull by the horns and DIY’ing audiobooks. And it’s not like we haven’t seen this kind of behavior before. Look what happened with video proliferation and the rise of YouTube. iPhone home movies and the growth of DIY authenticity on YouTube exploded. I think it’s happening with audio too.
Here’s my quick tips on building a home studio.
Find Somewhere Small
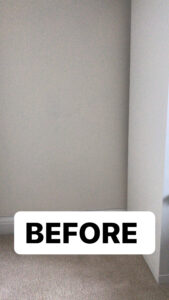
First up, you’ll need a small space. If you’re lucky enough to have a walk in wardrobe you probably won’t need to build a booth, you can use this because it has all the sound muffling you need from your clothes. If however, you’re like me and limited on space. Then consider a small office, or cupboard. Don’t use a bathroom. The sound will bounce off tiles and mirrors and you can’t fix that stuff I post recording editing.
I have a tiny office, so I decided to create an even tinier audio booth. I didn’t have a space to build a booth completely. So instead I created four walls instead. I used the normal office wall and the side of my bookcase as the first two walls. They essentially created a faux corner.
Cost: FREE
Create Fake Walls

Next, instead of using MDF or wood to box myself in, I bought an isolation shield.
An isolation shield is a curve filled with acoustic foam that your mic sits inside. It means any sound travelling behind the mic gets absorbed rather than bouncing off walls. I chose a mid-range shield. There are cheaper ones you can get for half what I paid.
Isolation Shield Amazon UK, Amazon USA
Cost: £72
Muffle the Mumbles
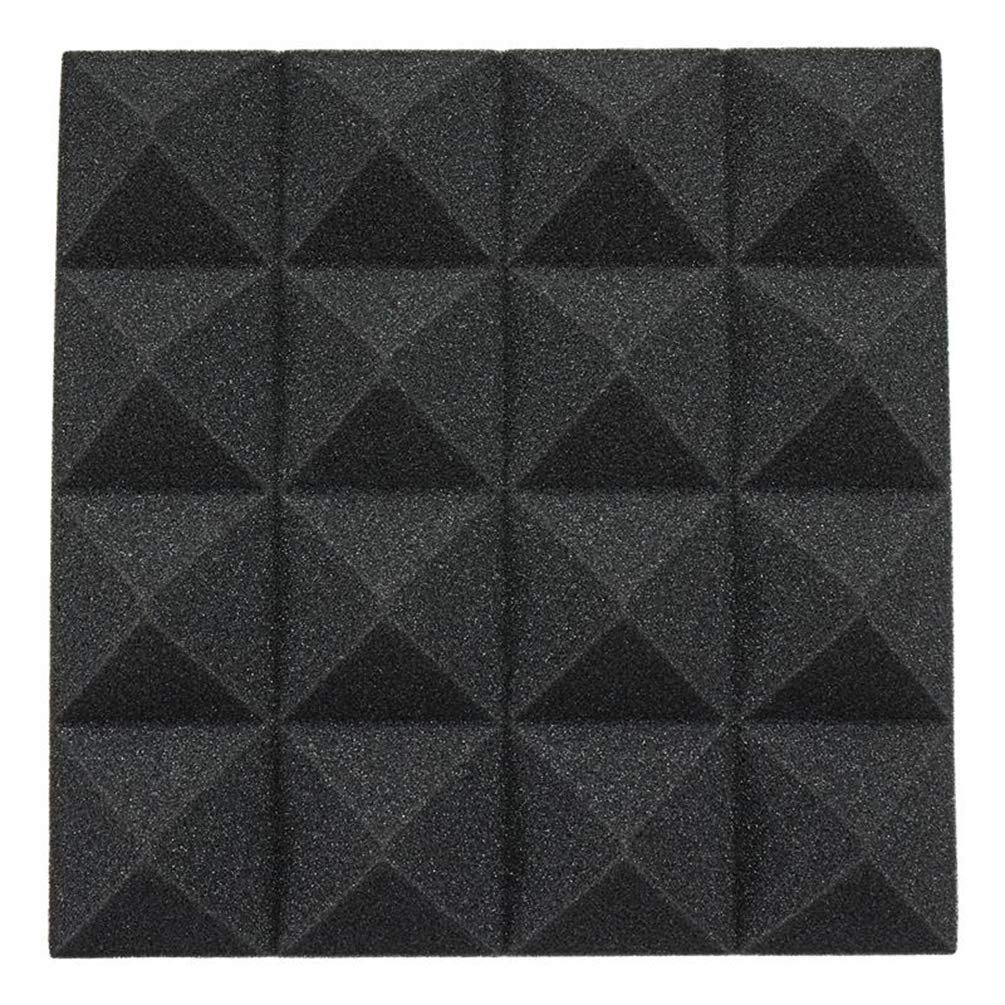
Next, you need to reduce the number of walls and hard surfaces that your sound can bounce off. Your best option is acoustic foam. Or if you want to do it for free, try egg boxes. Though you’ll be collecting for a while. I bought this acoustic foam Amazon UK, Amazon USA. I only foamed part of my wall – the part that would be behind my head while recording.
Make sure you think about your head height and don’t start laying the foam from the bottom or you’ll have to buy more than you need. Measure your head against the wall and build a few pieces above and below to make sure you capture any sound trying to escape.
Cost: £17.99
A Home Audio Booth
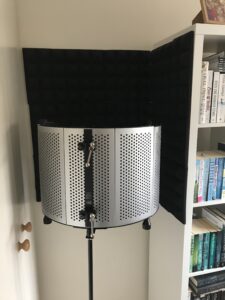
It really is as simple as that. You can see in the photo I’ve attached the acoustic foam to my wall using 3MM Command tape because it will come off the wall without damaging it you can get that from AmazonUK and AmazonUSA.
In the image on the left hand side, you can see a set of cupboard doors. I’ll be hanging blankets over those doors, and likewise with the front of the bookcase you can see on the right hand side. That should more or less mop up any stray sounds.
Other Equipment to Consider
You’ll obviously need a microphone to record on, I use the AT2020, which is about £75. You can get one from Amazon UK or Amazon USA.

I then have a blue icicle to ensure it connects via USB to my computer. Which you can find here UK or here USA. The blue icicle connects the mic to the computer.
![]()
Last, because my laptop and computer are noisy, I have an extra long XLR cable so I can put my laptop outside the office while recording. You can grab one of those from Amazon UK or Amazon USA.

The last piece of equipment you’ll need is a mic stand for your isolation shield to sit on. You can grab one of those from Amazon UK or Amazon USA.
Other popular mics include the blue yeti which you can find here (UK) or here (USA).
Software to Edit Your Audio Book
Last but by no means least, you’ll need editing software. I was using Audacity software which is a free program that works on Mac and Microsoft PCs. Though please note MacOS 10.5 Catalina does not support Audacity software, so if your version is that or higher, you’ll need to invest in different software.
I’ve recently upgraded Amadeus Pro which was $59.99 (£54.99) which I actually find much more intuitive. You can purchase a copy of it here.
Please note I have used affiliate links in this post.
If you enjoyed this post, you might like these.
https://sachablack.co.uk/2019/10/21/resources-for-creating-audiobooks-and-podcasts/
How creative! Never occurred to me that you could build a sound booth in such a small and relatively open space. Wonderful news! Now I want to see a video recording, a snippet of you working within that space and the end results. Not only would that be great as a follow-up to this post, but hearing your professional voice would be great advertising!
Haha! I’ll see what I can do, although I’m mostly alone when recording so that might be tricky! Glad you found the post useful 🙂
Heh your set-up is way fancier than what I use for my podcast! I don’t think I’ll be doing audiobooks any time soon though…
I don’t use this for my podcasting, I just use the mic swing arm on my desk. This is literally for audibooking :p